

Easy Peasy Fruit Leather
Last summer on a camping trip, a mom-friend of mine pulled out a container of homemade fruit leather she'd made. Kids and adults alike couldn’t get enough! Rolled-up, chewy, genuinely fruity, the kind of snack that disappears before you've even finished setting up camp.
I filed it away as something I'd eventually get around to. And then I did.
Here's what finally pushed me: I have a habit of throwing fruit in the freezer when I know it's not going to get eaten in time. I do this with good intentions and no plan. Fruit leather turned out to be the plan I was looking for. It's genuinely forgiving with overripe fruit and you can mix and match flavors depending on what kind of fruit you have on hand.
Save Up to 50% on Snack Containers
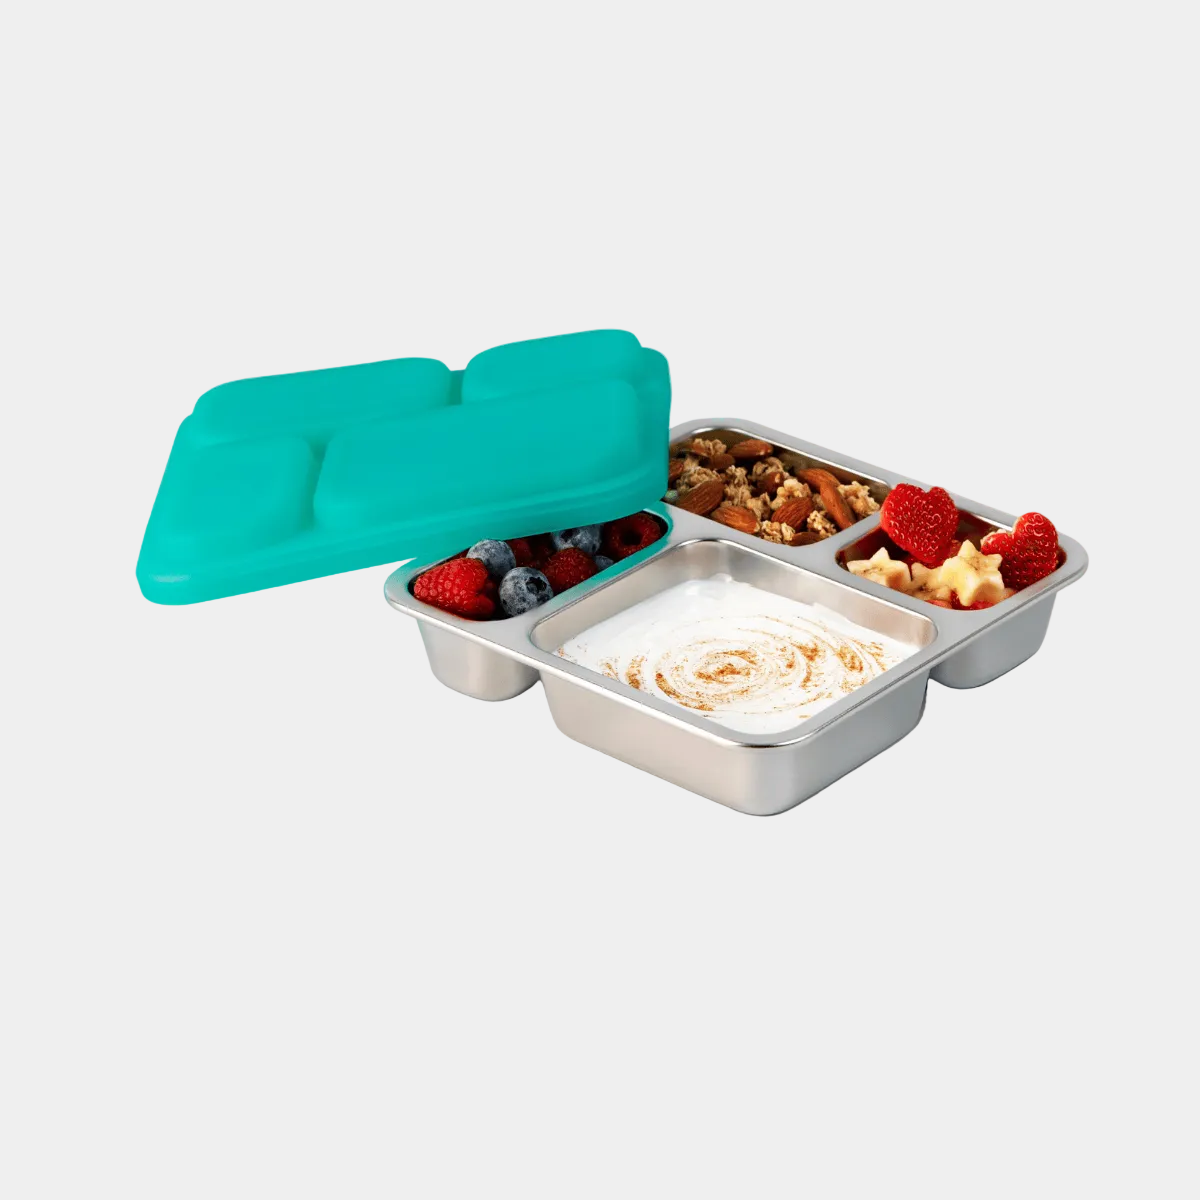
Pack snacks for school, work, or weekends with containers designed to keep everything fresh and organized. During the PlanetBox Back to School Sale, save up to 50% on select snack containers from July 7 through September 20.
Here's how I made it:
-
Roughly chop your fruit until you have about 3 to 3½ cups. Pretty much any fruit works. In my most recent batch I used strawberries and nectarines.
-
Toss the fruit in a blender or food processor with a tablespoon or so of honey or agave syrup and blend until smooth.
-
Pour the puree onto a baking sheet lined with a silicone baking mat or parchment paper. (I use a silicone mat and the fruit leather came right off, no fuss.)
-
Spread it out as evenly as you can. If the edges are thinner than the middle, they'll get crispy before the center has a chance to set.
-
Set your oven to 180°F. Ovens vary, so you might need to tweak the temperature depending on your oven.
-
Bake for 2+ hours. Start checking around the 1.5-hour mark, but be prepared for it to take closer to 3 hours. You're looking for the color to deepen and the surface to feel slightly tacky, not wet.
-
Pull it from the oven, let it cool completely, then cut into strips and roll them up. *If you over baked it just cut it into chunks instead of rolling it.
-
Store in an airtight container.
That's it. The active effort is maybe 10 minutes. The rest is the oven doing its thing while you do yours.
It's become one of those snacks that feels more impressive than it actually is to make — which, honestly, is exactly my kind of project.